Step-by-Step Guide to Crafting a 3-Tier Wooden Planter

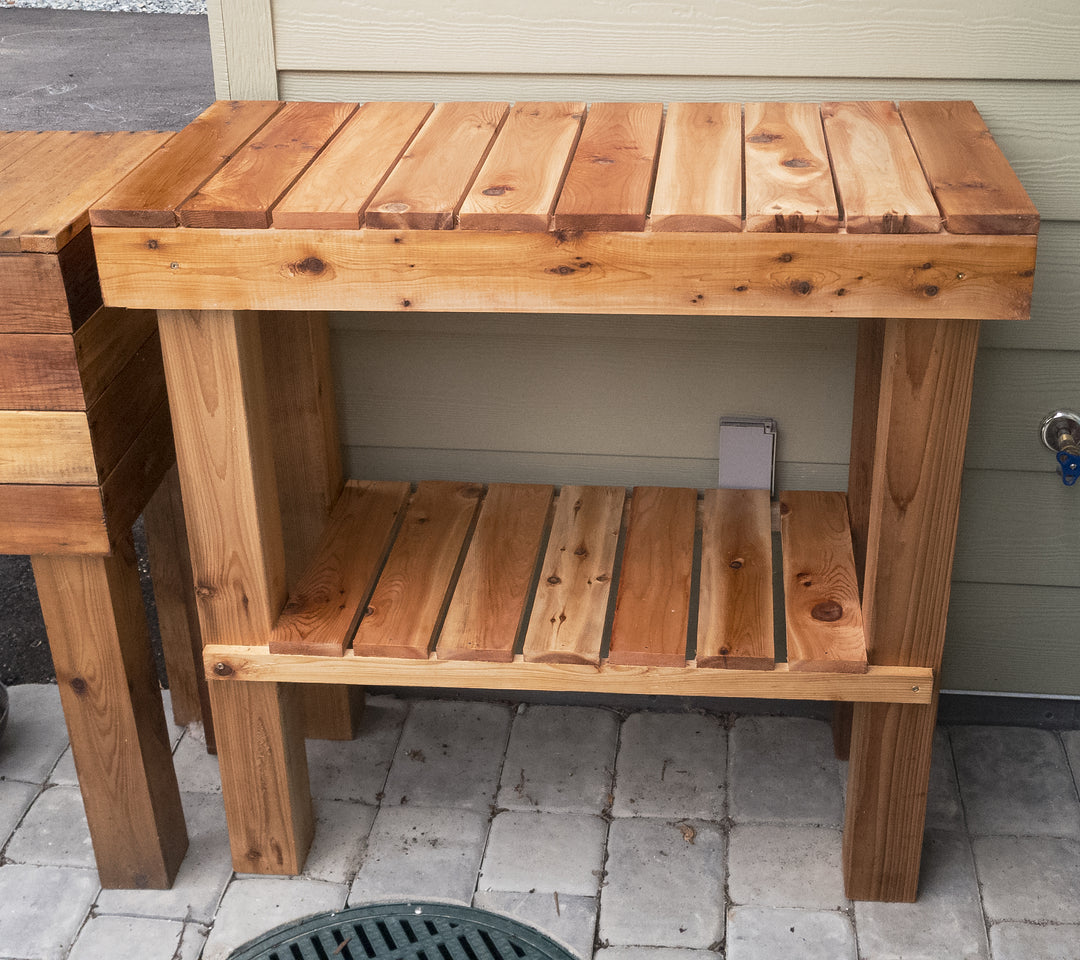
Save your back and add a beautiful vertical planter to your garden or yard. This one uses simple cuts and solid joinery, and you can build it the size you require.
Materials and Tools Needed
Before you begin, gather your materials and tools so assembly goes smoothly.
Materials:
| Material | Quantity |
|---|---|
| 1x6x8' Red or Yellow Cedar | 28 Boards |
| 2x2x8' (posts) | 4 Posts |
| 1x2x8' | 6 Boards |
| #8, 2" Deck Screws | 96 Screws |
| #8, 1-1/2" Deck Screws | 36 Screws |
| Landscape Cloth | 1 Roll |
Tools:
- Miter saw or circular saw
- #8 Robertson driver
- #8 countersink drill bit
- Staple gun
- Tape measure
- Pencil
Cut Plans:

Top View

Side View

Step-by-Step Build Instructions
-
Step 1: Clean Up the Boards
Trim 1/4" from the ends to create clean, square start edges.
-
Step 2: Cut All Pieces to Length
Cut all boards to the indicated lengths based on the diagram with your saw.
-
Step 3: Pre-Drill and Countersink
The horizontal board ends are flush with the centers of the vertical pieces. Pre-drill all screw holes with a #8 countersink bit.
-
Step 4: Assemble the Frame
Secure the main frame with #8, 2" deck screws. Secure bottom supports with #8, 1-1/2" screws. Box bottoms can float or be nailed with a small nail.
-
Step 5: Line the Boxes
Staple landscape cloth inside each box, or use plastic planter inserts if desired.
Final Thoughts
This is a space-saving way to grow herbs, flowers, or greens. This weathering cedar planter is beautiful outside and can be trimmed to suit your deck, patio, or garden.
