Rough Cut Lumber: How to Use It and Why It’s Popular with DIYers

At Windsor Plywood, we’ve spent more than 50 years helping Canadians select the right lumber for everything from large-scale construction to personal DIY projects. One material that continues to grow in popularity among our customers, new and experienced alike, is rough cut lumber. Its raw, authentic texture and full-thickness dimensions give woodworkers far more freedom than traditional dressed lumber, allowing for highly customizable and character-rich results.
Whether you’re building furniture, crafting a feature wall, or designing an outdoor structure, rough cut lumber opens the door to creative possibilities you simply can’t achieve with pre-milled boards.
Browse Hardwoods & Specialty Lumber
What Is Rough Cut Lumber?
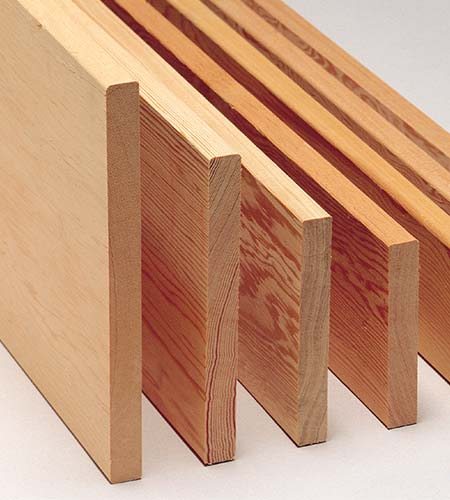
Rough cut lumber, also called rough sawn lumber, is milled from the log and left in its original, unsurfaced state. Unlike dimensional boards that are planed smooth and reduced to standardized sizes, rough cut boards retain their natural saw marks and full, true thickness. For example, a rough 2″ board is a full 2″ thick, giving the builder more material to shape and work with.
Definition:
Rough cut lumber is lumber that has been cut to size at the sawmill but not planed, sanded, or surfaced. It offers greater thickness, a raw texture, and maximum flexibility for custom milling and finishing.
This makes rough cut lumber ideal for rustic designs, furniture making, and projects where you want to control every stage from milling to finishing.
Learn About Our Custom Rough Cutting Service
Rough Cut vs. Dimensional Lumber: Key Differences
| Feature | Rough Cut Lumber | Dimensional Lumber (Planed/S4S) |
|---|---|---|
| Surface | Raw texture, visible saw marks | Smooth, ready-to-use |
| Thickness | Full, true dimensions | Reduced to standard sizes |
| Strength | Often stronger due to extra material | Slightly thinner and lighter |
| Appearance | Natural, rustic, character-rich | Clean, uniform, modern |
| Cost | Lower per volume, varies by species | Higher due to added processing |
| Applications | Furniture, beams, rustic décor, outdoor structures | Trim, cabinetry, framing, finished carpentry |
If you want flexibility, authenticity, or a thicker base for milling, rough cut lumber is the smarter choice. For projects needing uniformity or immediate installation, dimensional lumber is typically more convenient.
Browse Live Edge and Specialty Wood
Practical Uses for Rough Sawn Wood
Rough cut lumber is one of the most versatile materials we carry. Customers use it for everything from light décor to heavy-duty structural projects:
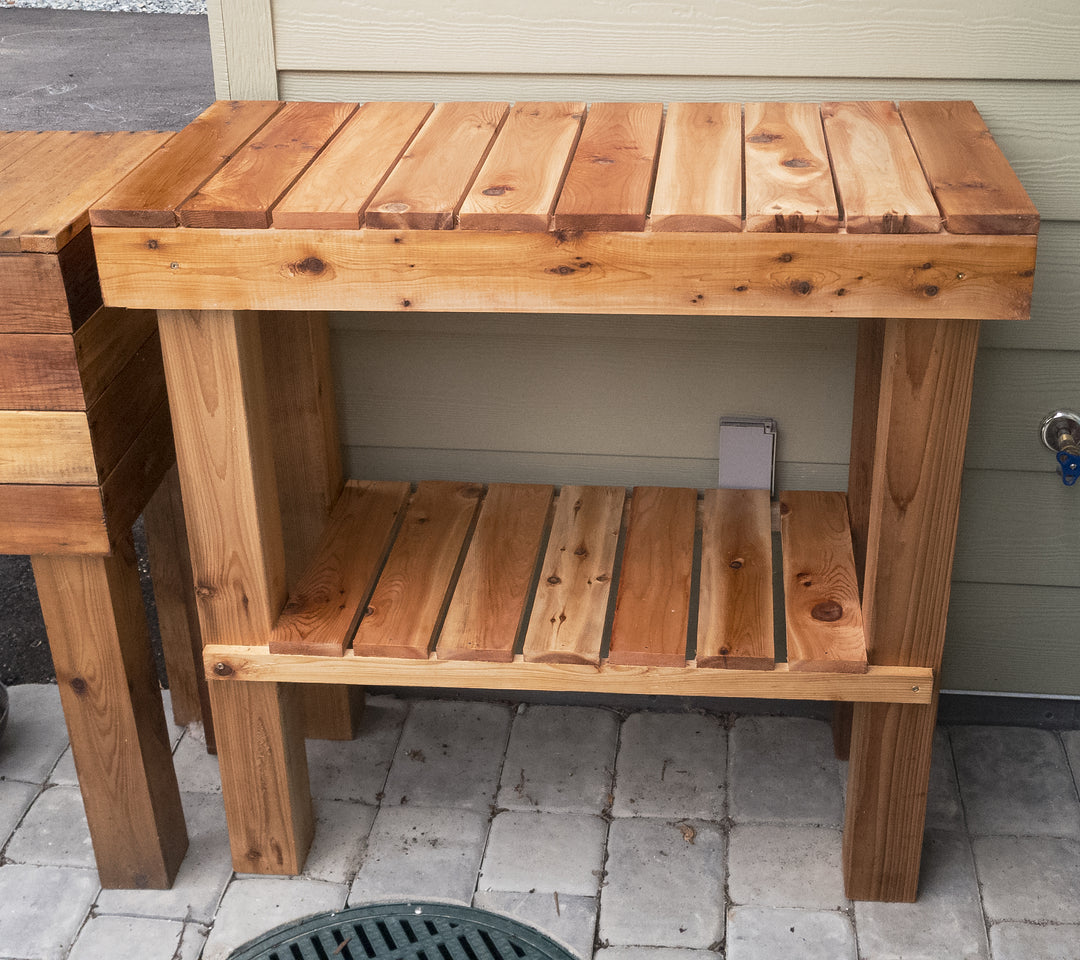
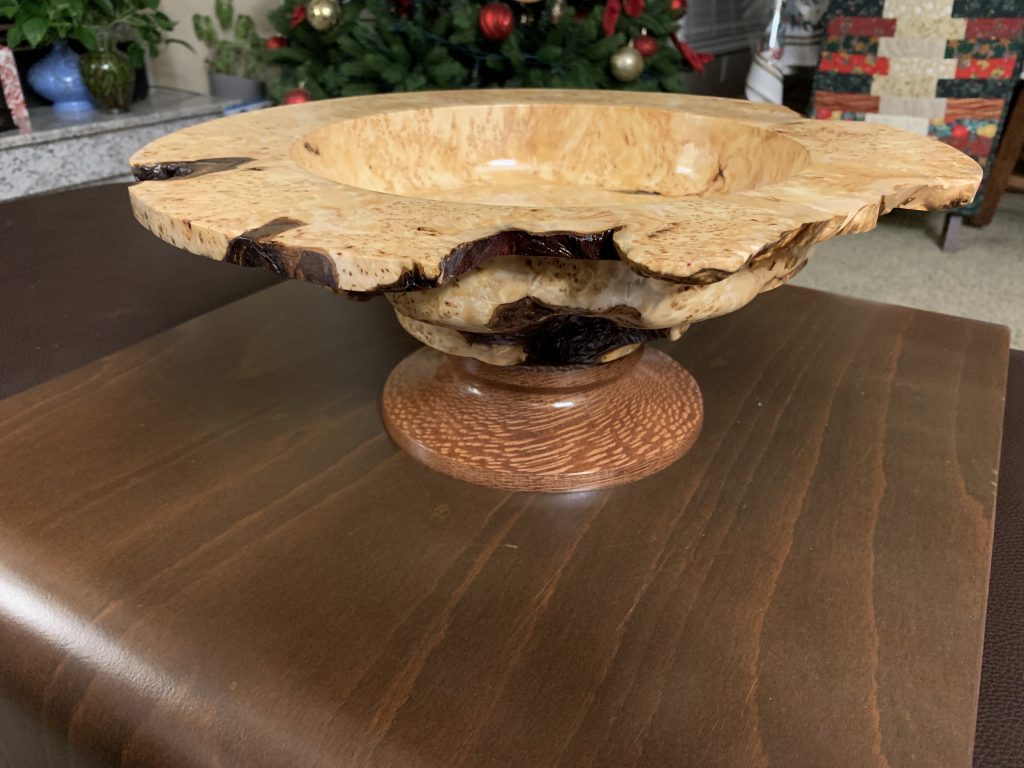
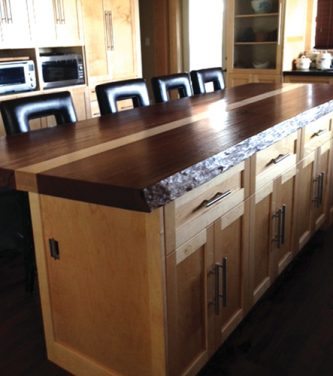
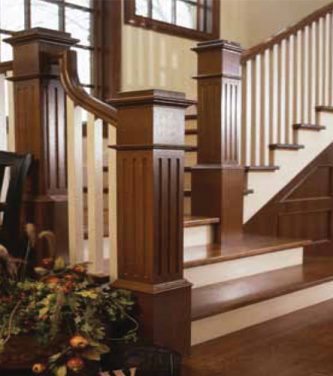
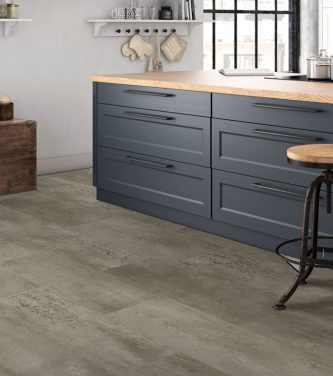
- Furniture: Tables, benches, consoles, desks, shelves
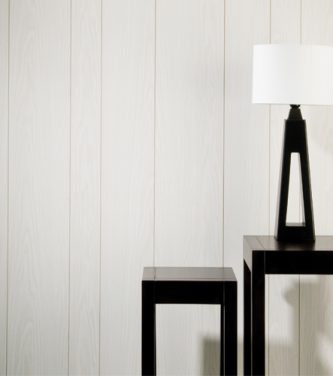
- Accent Walls & Feature Panels: Rustic or modern character with natural texture
- Barn Doors and Sliding Doors: Strong, stylish, and customizable
- Open Shelving: Thick boards create durable, stylish shelves
- Mantles & Beams: For both decorative and structural applications
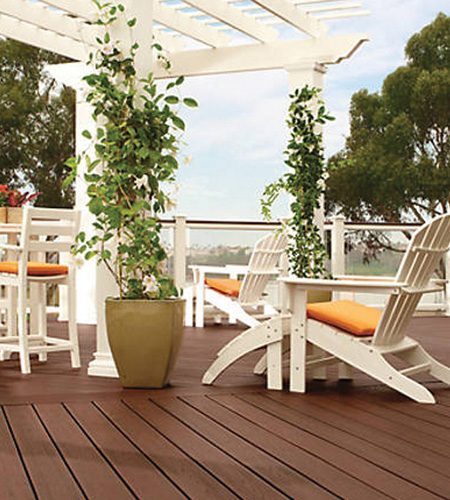
- Outdoor Projects: Raised garden beds, pergolas, planter boxes, sheds, fences
- Cottage & Cabin Interiors: Ideal for rustic trim, bunks, partitions, and panelling
- Workshop Projects: Workbenches, tool stands, storage fixtures
Choosing the Right Rough Cut Lumber

A great project starts with selecting the right boards. Here’s what we encourage customers to look for:
Board Straightness
Some natural movement is expected, but excessive bowing, twisting, or cupping may require more milling than you’d prefer.
Moisture Content
Kiln-dried rough cut lumber is ideal for indoor furniture, while air-dried or green lumber works well for exterior or rustic builds.
Species Selection
- Pine: Lightweight, economical, great for rustic décor and indoor projects
- Oak: Strong, heavy, excellent for furniture and tabletops
- Cedar: Naturally rot-resistant, ideal for outdoor projects
- Douglas Fir: Strong, straight-grained, excellent for beams, mantles, and framing
Project Requirements
Boards with distinct saw marks work beautifully for rustic projects, while smoother or lightly marked boards are easier to mill for refined furniture.
Checklist for Choosing Rough Cut Lumber
- Is the board straight enough for my project?
- What species best fits my needs?
- How dry is the lumber and where will it be used?
- Do the saw marks and texture support my design style?
- Do I have the tools to mill and prepare the lumber properly?
Browse Hardwood Species & Board Options
How to Prepare and Finish Rough Cut Lumber
Preparing rough cut lumber is a rewarding process that lets you shape the wood exactly the way you want. Here’s the streamlined approach we recommend:
1. Inspect the Board
Remove nails, debris, or stones that could damage your tools.
2. Flatten One Face
Use a jointer or router sled to create one perfectly flat surface as your reference.
3. Plane to Thickness
Run the board through a planer with light passes until both faces are smooth and the board reaches your desired thickness.
4. Square the Edges
Once the faces are flat, straighten the edges using a jointer, track saw, or table saw.
5. Sand Smooth
Begin with coarse grit (around 80) and work up to 180–220 depending on the level of smoothness you want.
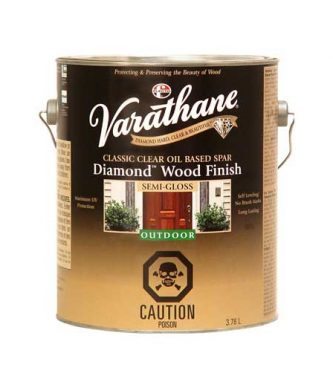
6. Apply Finish
Choose a finish that suits the project and environment:
- Oil for a natural, warm appearance
- Stain to alter colour or highlight grain
- Polyurethane or varnish for durability
- Exterior sealers for outdoor projects
Apply thin coats and follow drying instructions for the best results.
Explore Finishes, Sealers & Sanding Supplies
Safety, Durability, and Maintenance Tips

Rough cut lumber is durable, but like all wood products, it must be handled and stored properly. Because rough wood is thicker and textured, it produces more dust when milled and may require more tool passes.
Before using rough lumber indoors, let it acclimate to your home’s humidity and temperature. For outdoor projects, sealing is essential to protect against moisture and UV damage.
Quick Tips
- Always wear safety glasses, hearing protection, and a dust mask
- Inspect boards (especially reclaimed ones) for pests
- Seal outdoor projects on all sides, including end grain
- Store lumber flat and properly supported to reduce warping
- Use kiln-dried lumber for indoor furniture whenever possible
Rough Cut Lumber – Frequently Asked Questions
How do you smooth or finish rough cut wood for indoor projects?
Start by jointing one face until it’s flat, then plane the opposite side to remove saw marks. Square the edges using a jointer or table saw. From there, sand progressively, usually from 80 up to 180 or 220 grit, until you achieve the desired smoothness. Once prepared, finish the wood with oil, stain, or a clear coat depending on the project. This process turns a raw board into beautiful, furniture-grade material.
Is rough sawn lumber stronger than regular lumber?
Often, yes. Rough sawn lumber retains its full original thickness, giving it greater rigidity and load-bearing strength. A rough 2″ board is a true 2″ thick, compared to a dimensional 2×4 that measures 1½″ × 3½″. Strength also depends on species, drying method, and how well the board has been stored, but in general, rough cut lumber offers superior structural performance.
Can you build furniture with rough cut lumber?
Absolutely. Many customers prefer rough cut lumber for tables, benches, shelving, and custom furniture because it allows complete control over milling and final dimensions. Whether you want a smooth, modern finish or a rustic, textured surface, rough cut lumber provides flexibility that pre-milled boards can’t match.
Why is rough cut lumber sometimes more expensive?
Even though it receives less planing and sanding, rough cut lumber can be more expensive because you get more wood per board. Rough lumber is full thickness, often sourced from high-quality logs, and sold in larger or more desirable cuts. You’re paying for material volume, customizability, and the ability to mill the wood exactly how you want it.
What’s the best way to protect rough cut wood outdoors?
Seal all sides, including end grain, with an exterior-grade stain, oil, or sealer. Reapply the finish every 1–3 years depending on exposure to the elements. Choosing naturally durable species like cedar or Douglas fir improves longevity. Keeping wood elevated off soil also prevents moisture damage and prolongs the life of outdoor structures.
Next steps
Browse options or visit your nearest store for product-specific guidance and certifications.